
Happy Valentine's Day everyone! I am definitely feeling the love today, and I'm so thankful for the amazing people God has placed in my life. In honor of Valentine's Day, I'm sharing this recently created beauty with you guys! Most people who know me well enough know I have a mild obsession with buttons! And so when I found this project on Pinterest, there was no way I could avoid giving it a try.
I was originally looking for wedding ideas (my older sister's getting married, YAY!!!) on Pinterest when I bumped into this DIY project. It was tailored towards weddings and was referred to as a "Button Love Ring Pillow". I was not too keen on the idea of having it at a wedding, but I knew it would be a perfect fit with my beddings and the theme I have going on in my room as of present.
 Unfortunately, I forgot to take pictures while sewing this. It took me about 8 weeks to complete because I didn't have a lot of time to work on it (it should typically take 2-3 days if you're dedicated to it). However, if you're interested in making one of these, you can find a very detailed tutorial HERE. I modified it a little to make it simpler.
You Will Need
- Two square sheets of cotton material. In the original project they used a blue material, but I went with cream because it goes better with my room. (The measurements of the square sheets will be dependent on how big you want your pillow to be :) ).
- A small piece of pink cotton material (again you can choose a different color if you wish).
- Sewing thread to match both materials. I used three different types of thread for this pillow. A Dual Duty all purpose cream thread to sew the pillow around and the buttons on the front side of the pillow, a pink embroidery thread to sew the heart onto the pillow, and a shiny cream embroidery thread to close up the pillow. Keep scrolling to view these threads.
- LOTS of buttons! This was the most time consuming part for me - sewing on the buttons. I would have added more had I had more time, but I thought it looked good enough, and wanted to save some of my buttons for a future purposes. The tutorial does not show how to sew on buttons, so if you need help doing this, check out this link.
- Ultra plush fiber poly-fil to fill up the pillow.
Again for the actual tutorial, click here. :)


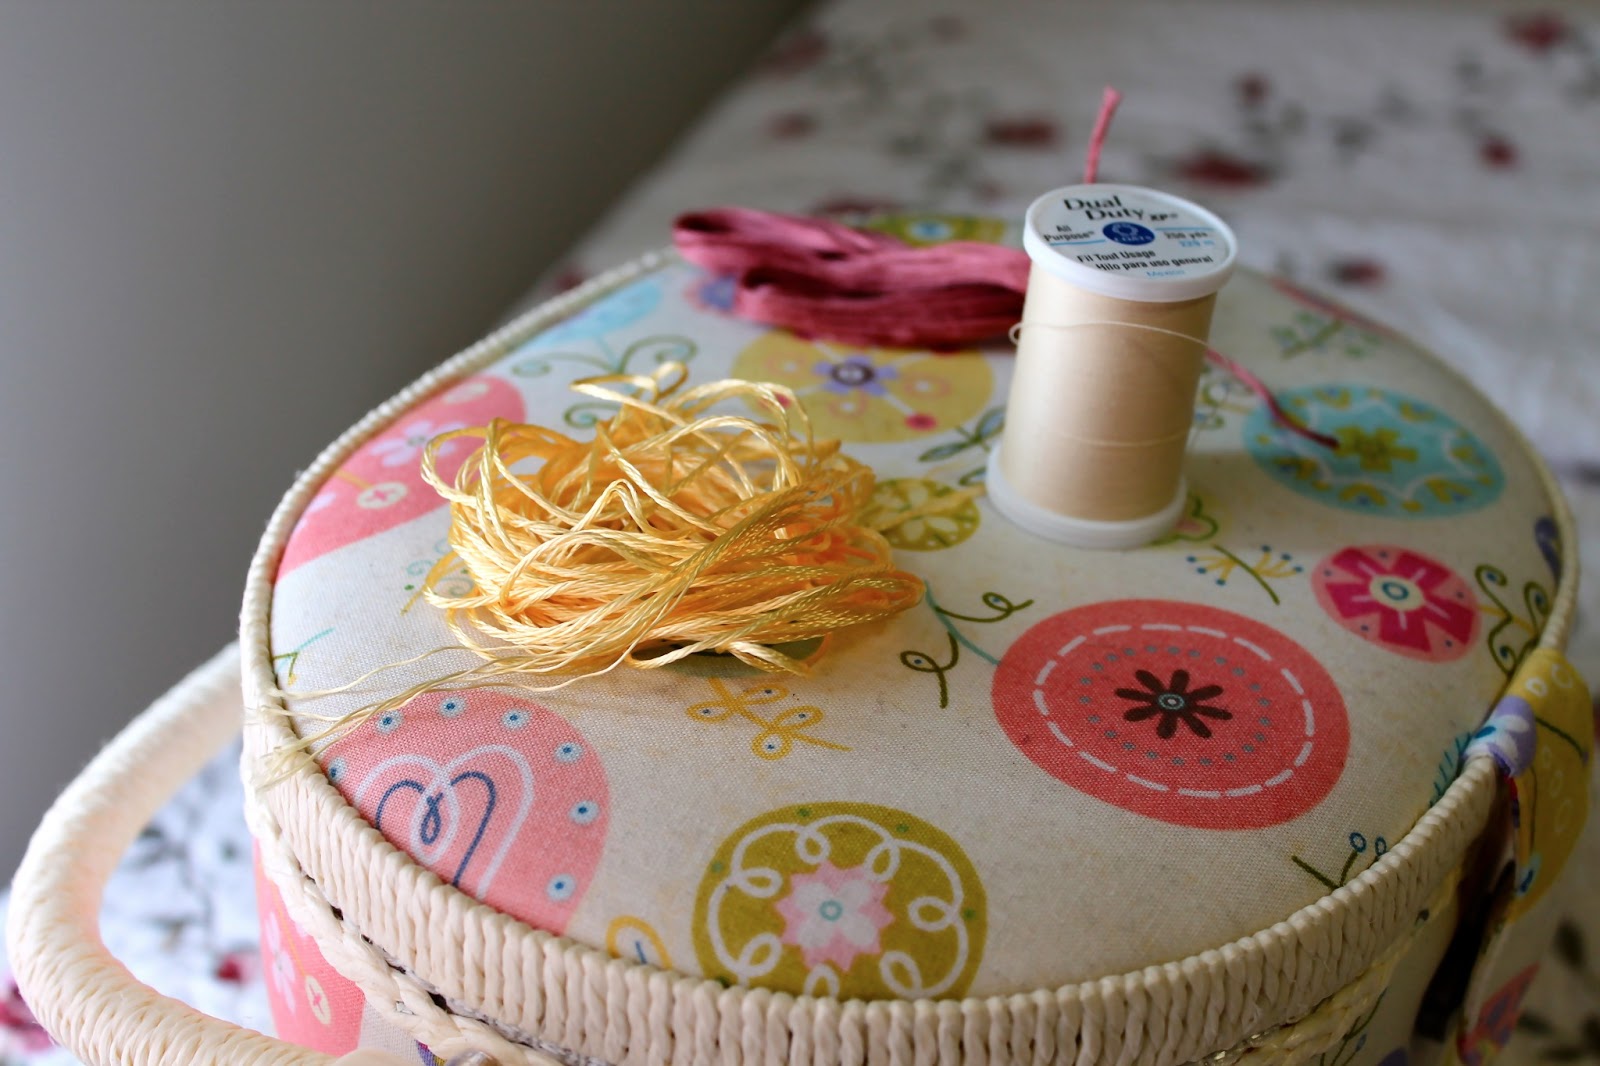
I used the shiny cream embroidery thread to close up the pillow and the pink to sew the heart onto the front side to the pillow. (Both gotten from Jo-Ann's)


I used this dual duty all purpose thread to sew the buttons onto the front side of the pillow, and to sew the two square sheets together. You can also use this thread if you are making use of a sewing machine. (Also gotten from Jo-Ann's)

I used pins to initially hold the two square sheets together, before hand-sewing the pillow around. (Gotten from Jo-Ann, I obviously love this store! Lol.)


 And you're done! It's pretty straightforward once you go through the tutorial and buy the stuff you need. Thanks for reading guys and let me know if you have any questions/concerns/suggestions. Remember to spread the love today, and may God bless you always with His unfailing love! :)
Xoxo,
Onivie
Hi Onivie,
ReplyDeletegood one Onivie
I love making gifts on my own rather than buying show case piece :)
-Balu
Aww thanks Balu! I agree, hand-made gifts are the best!
ReplyDelete